How to Upload Video from iPhone to YouTube
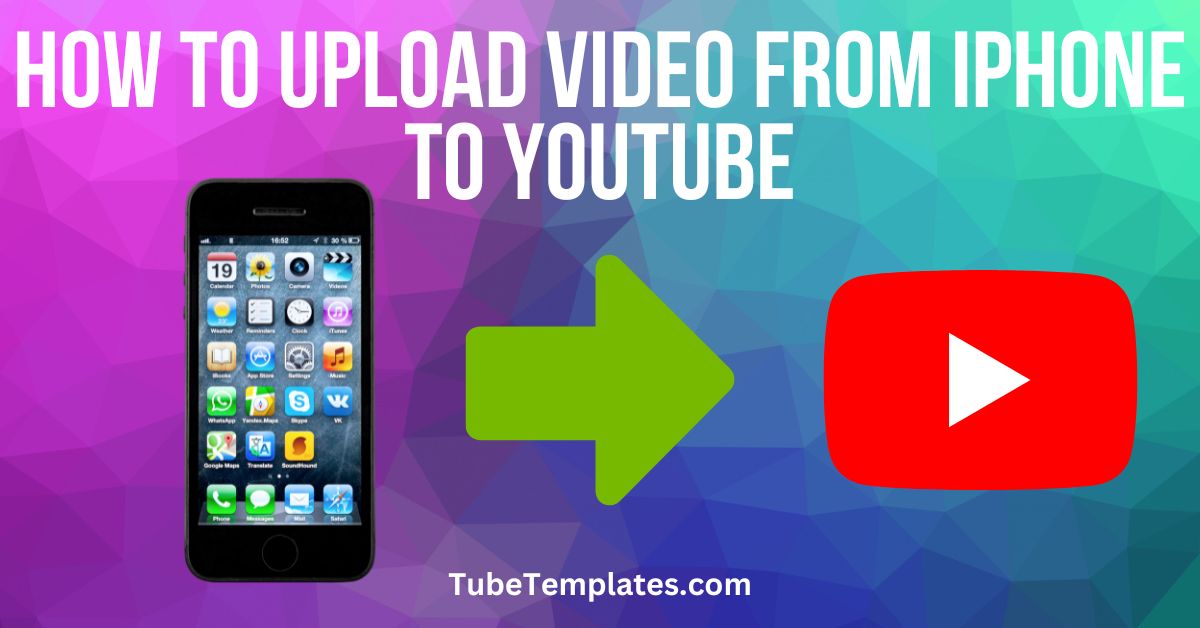
I’ll be the first to tell you that you don’t need a lot of fancy equipment to make YouTube videos. There are a surprising number of popular YouTubers who just upload video from iPhone to YouTube.
I’m not saying go out and buy an iPhone to shoot YouTube videos. I’m saying if you already have an iPhone, start where you are with what you have!
What You Need to Upload Video from iPhone to YouTube
Not to state the obvious, but you need an iPhone. Of course, the newer models are going to serve you better, but if you have an older iPhone, don’t let that stop you from going for it!
You need to download two apps from the App Store if you don’t already have them:
- YouTube – You’ll use this app to upload video from iPhone to YouTube
- YouTube Studio – You’ll use this app to admin your YouTube channel
Finally, you need a couple more things:
- A Google account – so you can log into YouTube. You also should have created a YouTube channel.
- A video you want to upload to YouTube
How to Upload Video from iPhone to YouTube
Assuming you’ve got everything you need loaded on your iPhone and you’re signed into YouTube, you’re ready to upload video from iPhone to YouTube.
Open the YouTube app on your iPhone.
Tap the + icon at the middle-bottom of your screen.
Tap Upload a video from the pop-up menu.
NOTE: This used to be found by tapping the camera icon in the upper-right portion of your screen, but the app has since been updated. Also, the Android version of the app is pretty much identical to the iPhone app.
The YouTube app will load a grid of the videos available for upload on your phone. Tap the one you want to upload to select it.
Tap Next.
Type the details of your video by tapping on each section:
- Title – Type the title for your video. Get started with YouTube keyword research with this video – https://youtu.be/wnXhnSxDtss
- Description – Type a detailed description telling YouTube exactly what your video is about using the same keyword from your title.
- Visibility – Tap to select from the drop-down: Public, Unlisted, or Private. I like to upload everything as Unlisted, that way I have can have a look and make changes if I don’t like something.
Tap Next.
Specify whether your video is made for kids.
Tap Not Selected to access the pop-up menu.
Tap the choice that best applies to your video:
- Yes, it’s Made for Kids
- No, it’s not Made for Kids
Choose whether you want to place an age restriction on your video by tapping to access the pop-up menu.
When you’re done, tap Upload.
Your video will upload to YouTube and go through their processing phase. How long this takes will depend upon the length of your video and size of your file.
Once it’s done, your video will be available on YouTube. It will only be public if you selected that option during the upload process.
Using the YouTube Studio App to Manage Your Uploaded Videos
Now that your YouTube has your video, we can move to the YouTube Studio app for additional settings and features.
The YouTube Studio app is kind of the backend of your channel where you can find detailed stats on your channel and videos, but also edit videos that already on your channel.
Open the YouTube Studio app on your iPhone.
Edit Details and Turn on Monetization
Tap Content on the bottom navigation bar of the app to view your list of uploaded videos.
Tap the ellipsis menu (3 dots) next to the video you want to update and select Edit video from the pop-up menu.
On the Edit video screen, you can do the following by tapping each section:
- Update the title and description
- Change the visibility or schedule the video to publish and set as a premiere
- Turn monetization on and off
- Specify if the video is Made for Kids or not
- Add the video to playlists
- Add tags
- Choose a category
- Specify the license
- Configure how comments are handled
- Choose how the comments are displayed
There are also a couple of checkboxes on the page:
- Check the box to Allow Embedding. This is checked by default and will allow YouTube users to embed your video on their websites, on forum sites, on social media, and on websites like Reddit.com. When this is checked, viewers don’t have to come to YouTube to view your video. They can play your video from the embedded version wherever they are online. Uncheck this box if you want viewers to view your video on YouTube.
- Check the box to Show how many views like and dislike this video. This is also checked by default and will display the number of people who have clicked the thumbs up icon or “liked” your video. YouTube recently remobed the Dislike button count.
To select or edit a thumbnail, tap the pencil icon in the upper-left of the video image.
In the Edit thumbnail screen, you can download the current thumbnail, select a custom thumbnail from your phone, or select one of the 3 suggested thumbnails that YouTube has pulled from your video as screen caps.
When you are finished, click DONE in the upper-right corner of your screen. YouTube Studio will return you to the Edit video screen.
Once you’re finished, don’t forget to click SAVE in the upper-right corner to preserve your changes.
Congratulations! You’ve uploaded a video from your iPhone. That wasn’t so bad, right?
Monitoring Your Video Analytics
Now that your video is live, you can monitor its performance from the YouTube Studio app as well.
Tap Content in the bottom navigation bar of the app.
Tap the thumbnail of the video you want to monitor.
Under the Video performance heading in the middle of your screen, tap GO TO VIDEO ANALYTICS.
Don’t forget to explore the tabs across the top by tapping them:
- Overview
- Reach
- Engagement
- Audience
If your channel is monetized, you will have a fifth tab called Revenue.
Did You Find This Article Helpful?
I hope so. I’ve love to hear your thoughts in the comments below.
